Reanimation Basics and the Plague Doctor Quest
Manual logging and stone mining quickly consume the keeper's limited energy pool. Graveyard Keeper 2 solves this industrial bottleneck through zombie automation. To unlock the ability to awaken the dead, players must advance the church cellar investigation until encountering the reclusive Plague Doctor.
Completing the doctor's initial task grants the Resurrection table blueprint and your first vial of Zombie Juice. Crafting additional reanimation fluid requires combining faith tokens extracted during sermons with distilled alchemical solutions on the tier-one alchemy workbench.
To create a worker, transport an intact cadaver to the reanimation table in the cellar, apply the necessary alchemical fluids, and spend faith to infuse life into the vessel. Once animated, the zombie can be picked up and carried to any designated industrial workstation across the realm.
Worker Efficiency and Skull Optimization
A zombie worker's production rate is strictly determined by the white skull rating of the body from which it was reanimated. Each white skull confers a direct percentage bonus to harvesting speed, crafting rate, and walking velocity. In contrast, red skulls have no negative penalty on worker performance, allowing you to repurpose otherwise flawed corpses.
For optimal results, prepare corpses destined for the reanimation table by removing blood and fat to maximize white skulls. Later in the game, embalming treatments such as silver and gold injections can artificially elevate white skull counts before reanimation, producing ultra-efficient laborers capable of outworking multiple standard workers.
Always provide high-tier tools to your deployed zombies. Equipping automated miners with hardened steel pickaxes or lumberjacks with tempered axes noticeably reduces work cycle durations and prevents unnecessary production pauses.
Logistics Depots and Automated Supply Chains
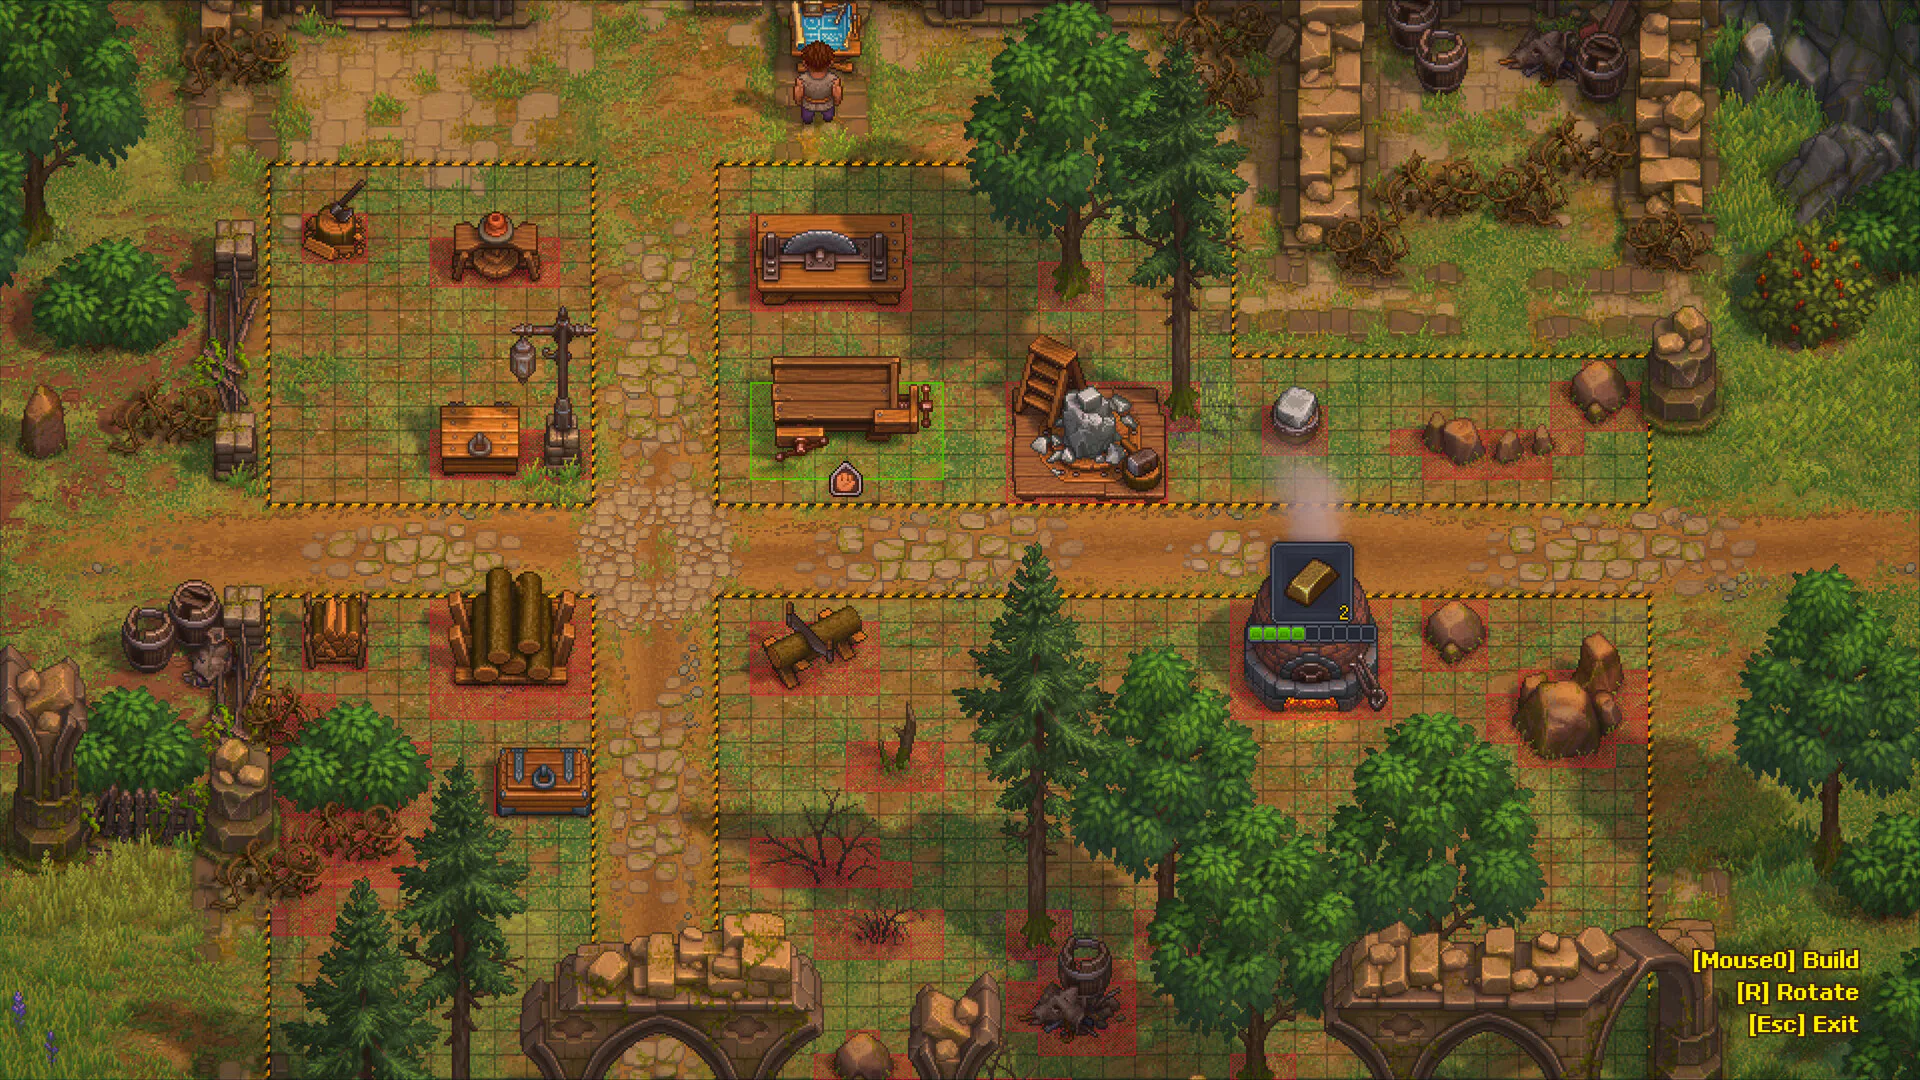
Placing zombies at resource extraction nodes is only half the battle; harvested raw materials must be transported back to your workshop chests. Constructing automated porter stations links distant outposts to your central compound.
Assign dedicated carrier zombies to logistics posts located at the northern quarry and woodland logging camp. These carriers will continuously load backpacks with stone blocks, marble slabs, and tree billets, walking them along designated roadways directly into your stockpile storage racks.
Configure drop-off priority chests in your work yard to prevent logistical clogs. By organizing raw ores, building stones, and lumber into designated storage bins, your crafting stations will automatically pull required ingredients without manual sorting.
Zombie worker output is strictly dictated by White Skull ratings; Red Skulls cause zero labor penalties. In early game, deploy 4–6 skull zombies to logging camps and stone quarries. Later, apply the three-injection embalming cycle (Lye + Silver + Gold) on Embalming Table II to reach 16 White Skulls and achieve 120%+ peak workstation efficiency.
Graveyard Keeper 2: Zombie Automation & Undead Production Network
tinyBuildGAMES • 300K+ views
🎯 Key Takeaways & Strategy
- Cadavers with sub-90% freshness lose white skulls; dissect immediately upon delivery or place on cold racks.
- Always construct a Porter Station at the Quarry and Forest; unassigned resources will not transport automatically.
- Equip zombie workers with tempered steel tools (axes, pickaxes) to cut harvest cycle durations by 30%.
🧟 Zombie Workforce & Skull Efficiency Calculator
Calculate working speed percentages, evaluate station assignments, and follow the 16-skull embalming roadmap
High efficiency! Prepares dozens of export crates of wine and vegetables ahead of each weekly Merchant visit.
📋 16-Skull Apex Zombie Embalming Roadmap(Click to track completed procedures)
Fundamental autopsy surgery! Removes 1 Red Skull and adds 1 White Skull.
Fundamental autopsy surgery! Removes 1 Red Skull and adds 1 White Skull.
Adds +1 Red and +1 White Skull. Expands headroom for subsequent Gold Injections.
Removes 1 Red Skull and adds 1 White Skull. Requires at least 1 Red Skull present.
Removes 2 Red Skulls and adds 2 White Skulls. Requires at least 2 Red Skulls present.
Pure White Skull bonus (+1 White). Introduces zero Red Skull penalties.